
The Jiri to Everest Base Camp Trek is an amazing trail in Nepal, And while hiking from Jiri to the Everest Base Camp is challenging (frankly, it's the toughest thing I have ever done), it is worth every step.
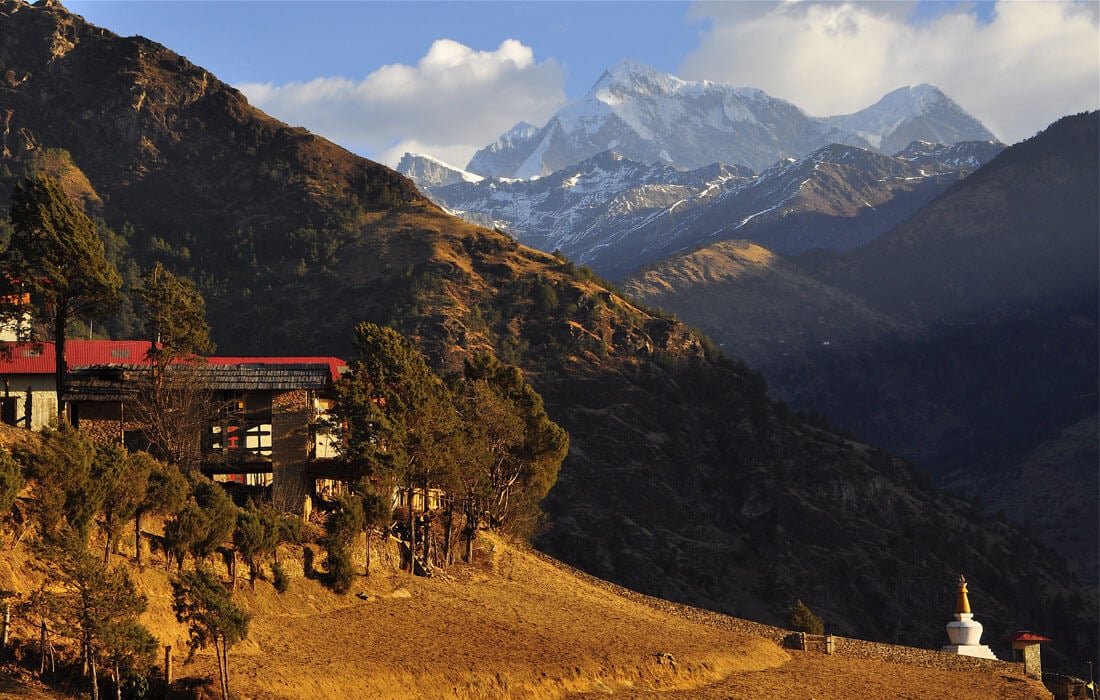
The Jiri to Everest Base Camp (EBC) Trek is one of the most classic and scenic trekking routes in Nepal. Following in the footsteps of Sir Edmund Hillary and Tenzing Norgay, this trek takes you through breathtaking landscapes, charming Sherpa villages, and high-altitude mountain passes before reaching the legendary Everest Base Camp.
That’s a great point! The Jiri to Everest Base Camp (EBC) route is the classic approach used by early mountaineers like Edmund Hillary and Tenzing Norgay. Starting from Jiri allows for a more gradual acclimatization process, reducing the risk of altitude sickness compared to flying directly to Lukla. Plus, the trail from Jiri to Cheplung takes you through lush forests, terraced farmlands, and traditional Sherpa villages, offering a more immersive and peaceful experience before merging with the busier EBC trek.
Jiri to Everest Base Camp trek
Table of contents
Disclosure: Some links in this post are affiliate links. If you make a purchase through one of these links, we may earn a small commission (at no extra cost to you!). We're very grateful when you use our links to make a purchase:-).
Jiri to Everest Base Camp Trek: The Classic Himalayan Journey
The Jiri to Everest Base Camp trek follows the original route used by early mountaineers before the Lukla airport was built. It takes you through diverse landscapes, from lush forests and terraced farmlands to high-altitude alpine terrain. Unlike the direct flight to Lukla, starting from Jiri allows for gradual acclimatization, reducing the risk of altitude sickness.
Why Choose the Jiri to EBC Trek?
- ✅ Better Acclimatization – The gradual altitude gain reduces the risk of Acute Mountain Sickness (AMS).
- ✅ Less Crowded – The section from Jiri to Cheplung is much quieter than the busy Lukla-EBC trail.
- ✅ Scenic and Cultural Diversity – The trek passes through authentic Sherpa and Rai villages, offering cultural immersion.
- ✅ Challenging Yet Rewarding – Expect more ups and downs than the standard EBC trek, but the experience is worth it!
Best Time to Trek
- The best seasons for this trek are:
- ✅ Spring (March-May) – Pleasant weather, blooming rhododendrons, clear mountain views.
- ✅ Autumn (September-November) – Stable weather, crystal-clear views, peak trekking season.
- Avoid monsoon (June-August, heavy rain) and winter (December-February, extreme cold, some passes may be snowed in).
How to Get to Jiri (Starting Point)
- By Bus/Jeep from Kathmandu to Jiri/Bhandar:
- Public bus: Takes 8-10 hours (cheaper but slower).
- Private jeep: Takes 6-8 hours (faster and more comfortable).
- Some trekkers start from Bhandar, which is accessible by jeep, saving one trekking day.
Please Note
during the summer months it's monsoon season and rails are very slippery.
In winter trails are mostly closed by snow (plus: it's very cold!). Therefore, trekking isn't recommended in summer and winter.
Jiri to Everest Base Camp: 22-Day Itinerary

General Overview
- Total Duration: ~22 Days
- Difficulty: Challenging (multiple ascents and descents before joining EBC route)
- Best Time to Trek: Spring (March-May) & Autumn (September-November)
- Accommodation: Teahouses & Guesthouses
- Permits Required: TIMS Card, Sagarmatha National Park Permit
Find the best hotel deals for your next trip! Compare prices and book your stay on
Hostelworld: Meet fellow travellers — save on stays, Backpacker-friendly hostels, verified reviews and social stays that fit your budget and vibe.
Tripadvisor: Plan with confidence — reviews you can trust, Restaurants, hotels and experiences with millions of traveller reviews to help you choose what’s best.
Traveloka: Flights, hotels & more — simple booking, One-stop travel platform for great flight fares, hotel deals and local activities across Asia and beyond.
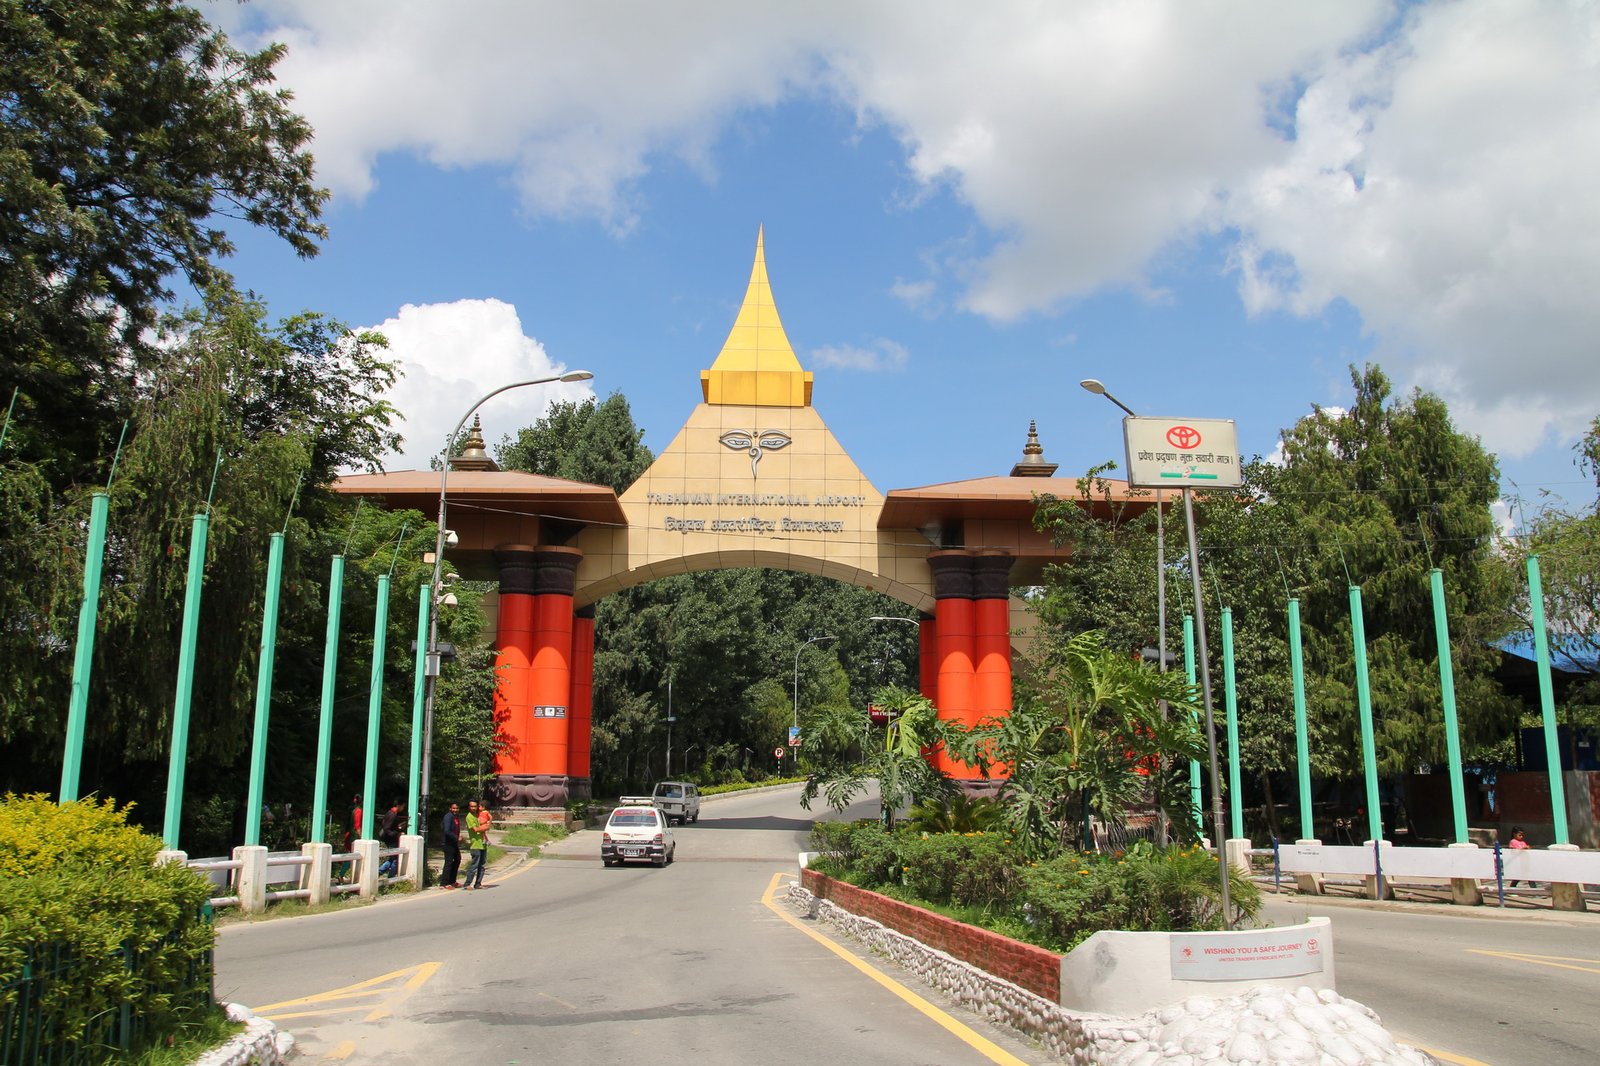
Day 1: Arrival in Kathmandu
- Accommodation: Book a stay at Hotel Thamel Eco Resort or Kathmandu Guest House, both offering comfortable stays with easy access to Thamel, the city's bustling hub.
- Price Range: $20-$40 per night.
- Things to Do: Spend the day exploring Kathmandu’s UNESCO World Heritage Sites such as the Swayambhunath Stupa (Monkey Temple) and the Kathmandu Durbar Square.
- Where to Eat: Visit Momo Star for traditional Nepalese momos (dumplings) or The Thamel House Restaurant for authentic Nepali cuisine.
- Food Prices: Momo from $2-$4, Nepali thali meal around $6-$8.
- Booking Links: Hotel Thamel Eco Resort, Kathmandu Guest House
Book top-rated tours and attractions on :
Viator (Best for curated global tours)
GetYourGuide (Skip-the-line tickets & local guides)
Klook (Great for Asia adventures & discounts)
Day 2: Drive from Kathmandu to Jiri (190 km, 7-8 hours)
- Accommodation: Stay at Dees Boutique Hotel or a local teahouse for an authentic experience.
- Price Range: $+45 per night.
- Things to Do: Explore the rural atmosphere of Jiri, known as the "Gateway to the Everest Region."
- Where to Eat: Teahouse meals in Jiri offer traditional Dal Bhat (lentil soup with rice), costing about $3-$5.
- Food Prices: Dal Bhat meal at $3-$5.
- Booking Links: Dees Boutique Hotel on Booking.com.
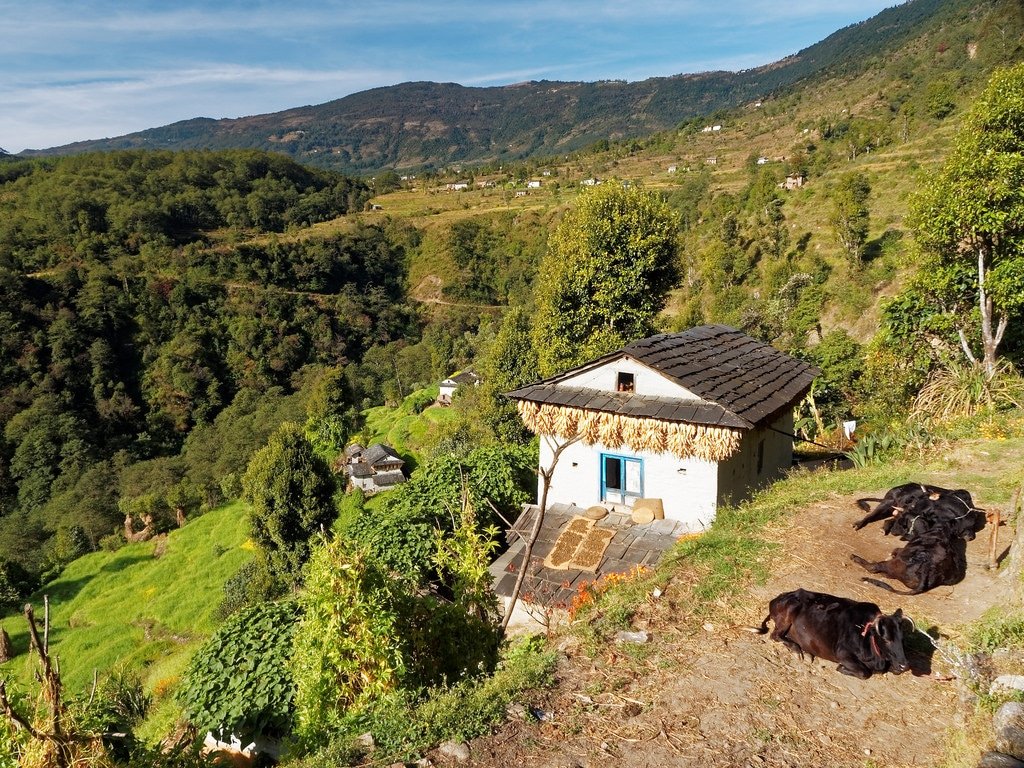
Day 3: Jiri to Bhandar (5-6 hours, 1,999 meters)
- Accommodation: Teahouses in Bhandar, such as Bhandar Lodge, offer basic but comfortable stays.
- Price Range: $10-$15 per night.
- Things to Do: Enjoy views of the surrounding hills and mountains.
- Where to Eat: Local teahouses serve simple yet hearty food like porridge and boiled potatoes.
- Food Prices: Breakfast $2, Dal Bhat $3.
Looking for cheap flights or all-in-one travel deals? Check out:
Trip.com (Competitive flight & hotel bundles)
Expedia (Flight + hotel savings)
WayAway.io (Cashback on flights & travel bookings)
Day 4: Bhandar to Sete (6-7 hours, 2,500 meters)
- Accommodation: Sete Guesthouse is a popular choice.
- Price Range: $12 per night.
- Things to Do: Visit the nearby Buddhist monastery and enjoy panoramic views of the hills.
- Where to Eat: Teahouses along the way offer traditional dishes.
- Food Prices: Dal Bhat $4-$5.
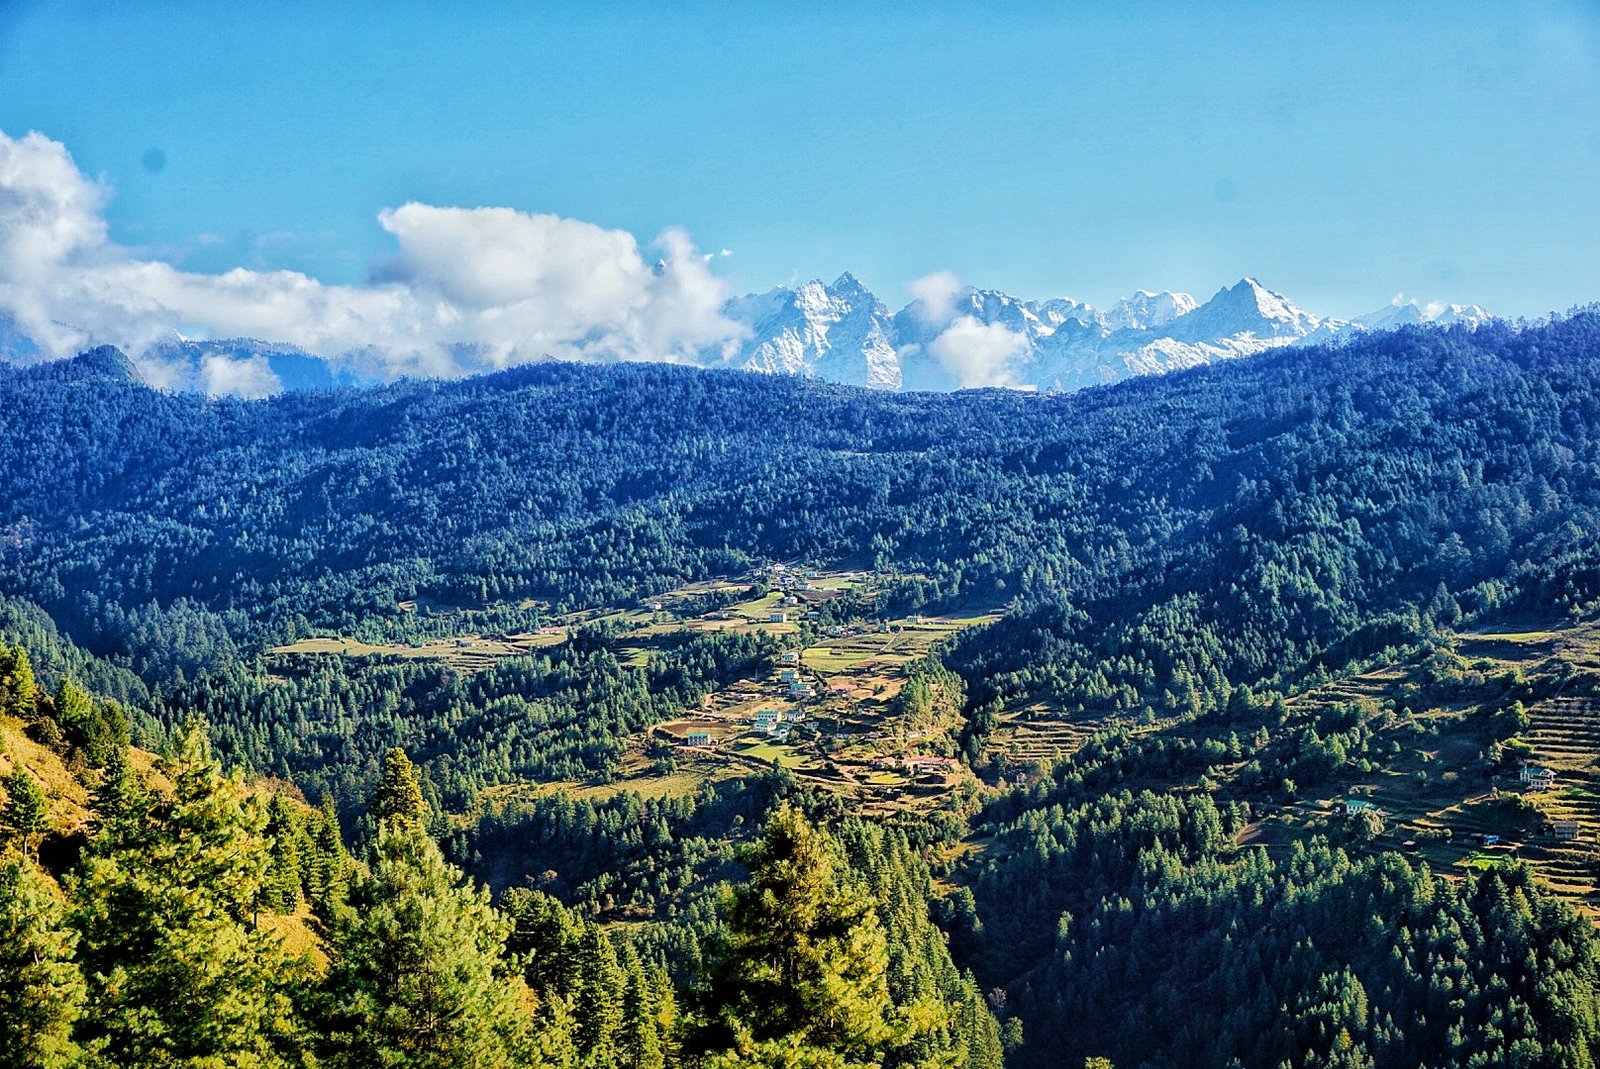
Day 5: Sete to Junbesi (6-7 hours, 2,680 meters)
- Accommodation: Junbesi Lodge provides a cozy retreat.
- Price Range: $15-$20 per night.
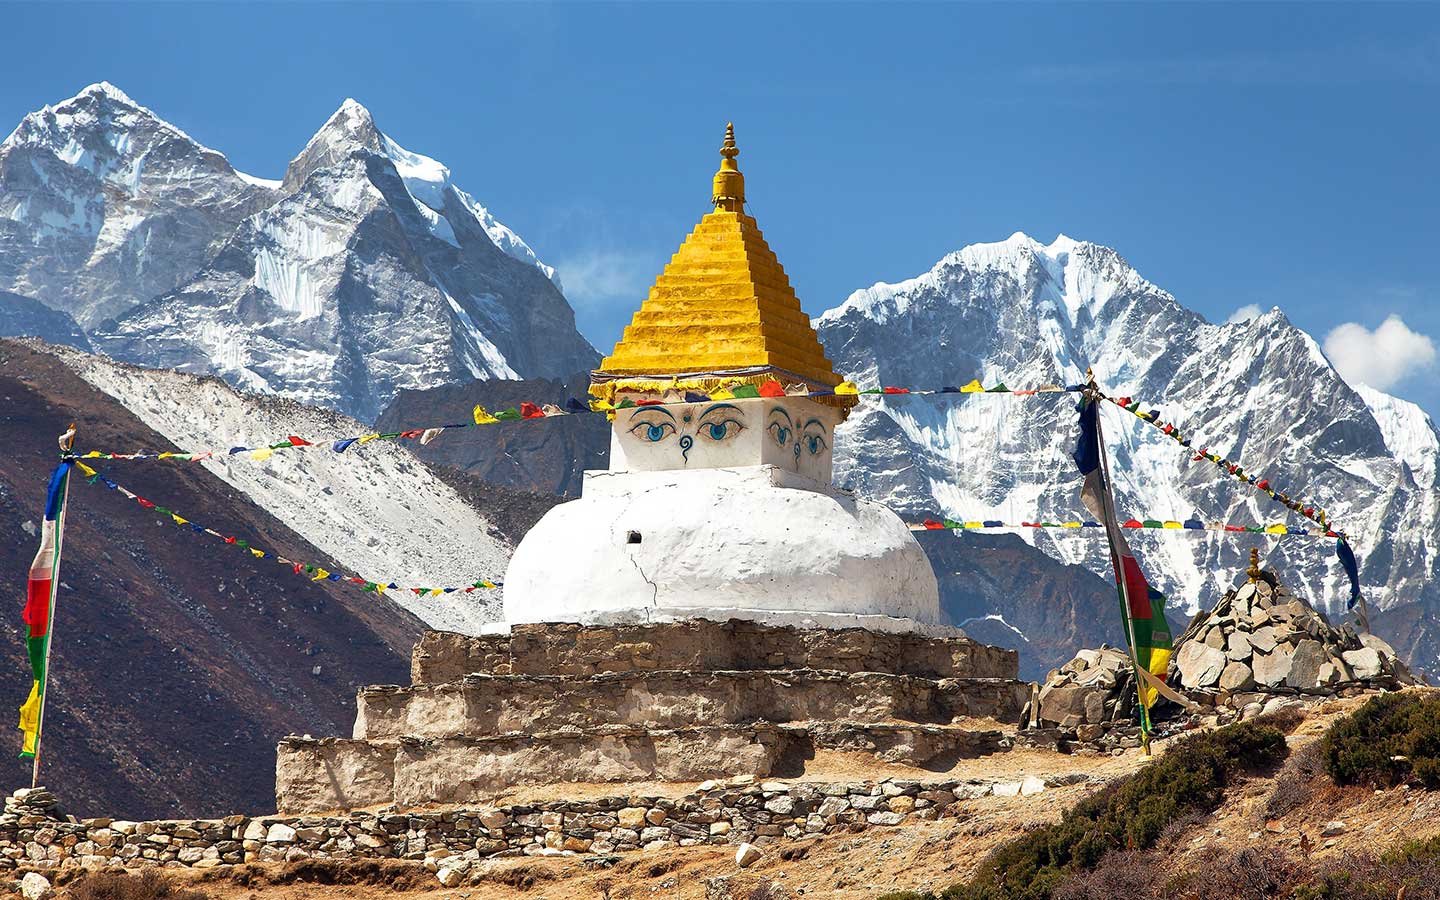
- Things to Do: Visit the famous Thubten Chholing Monastery, a significant cultural site.
- Where to Eat: Enjoy a Dal Bhat or a vegetable noodle dish in the local teahouses.
- Food Prices: Dal Bhat $4, noodles $3.
Day 6: Junbesi to Nunthala (5-6 hours, 2,300 meters)

- Accommodation: Stay at Nunthala Guesthouse.
- Price Range: $12-$15.
- Things to Do: Explore the village and enjoy the surrounding natural beauty.
- Where to Eat: Local teahouses provide light meals such as dal bhat or rice and lentils.
- Food Prices: Dal Bhat $4.
Day 7: Nunthala to Bupsa (6 hours, 2,300 meters)

- Accommodation: Bupsa Guesthouse offers simple amenities.
- Price Range: $10-$15.
- Things to Do: Relax in the village and appreciate the quieter side of the trek.
- Where to Eat: Enjoy local food at teahouses.
- Food Prices: Dal Bhat $3.
Day 8: Bupsa to Phakding (6 hours, 2,600 meters)

- Accommodation: Stay at Phakding Lodge.
- Price Range: $15 per night.
- Things to Do: Walk along the Dudh Koshi River and enjoy serene mountain views.
- Where to Eat: The teahouse offers simple local meals.
- Food Prices: Dal Bhat $4.
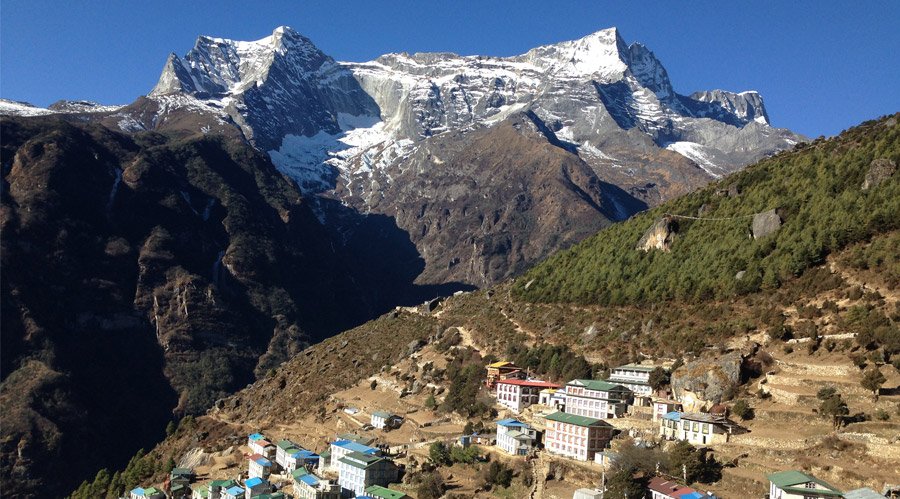
Day 9: Phakding to Namche Bazaar (5-6 hours, 3,440 meters)

- Accommodation: Hotel Namche offers fantastic mountain views and great amenities.
- Price Range: $20-$40 per night.
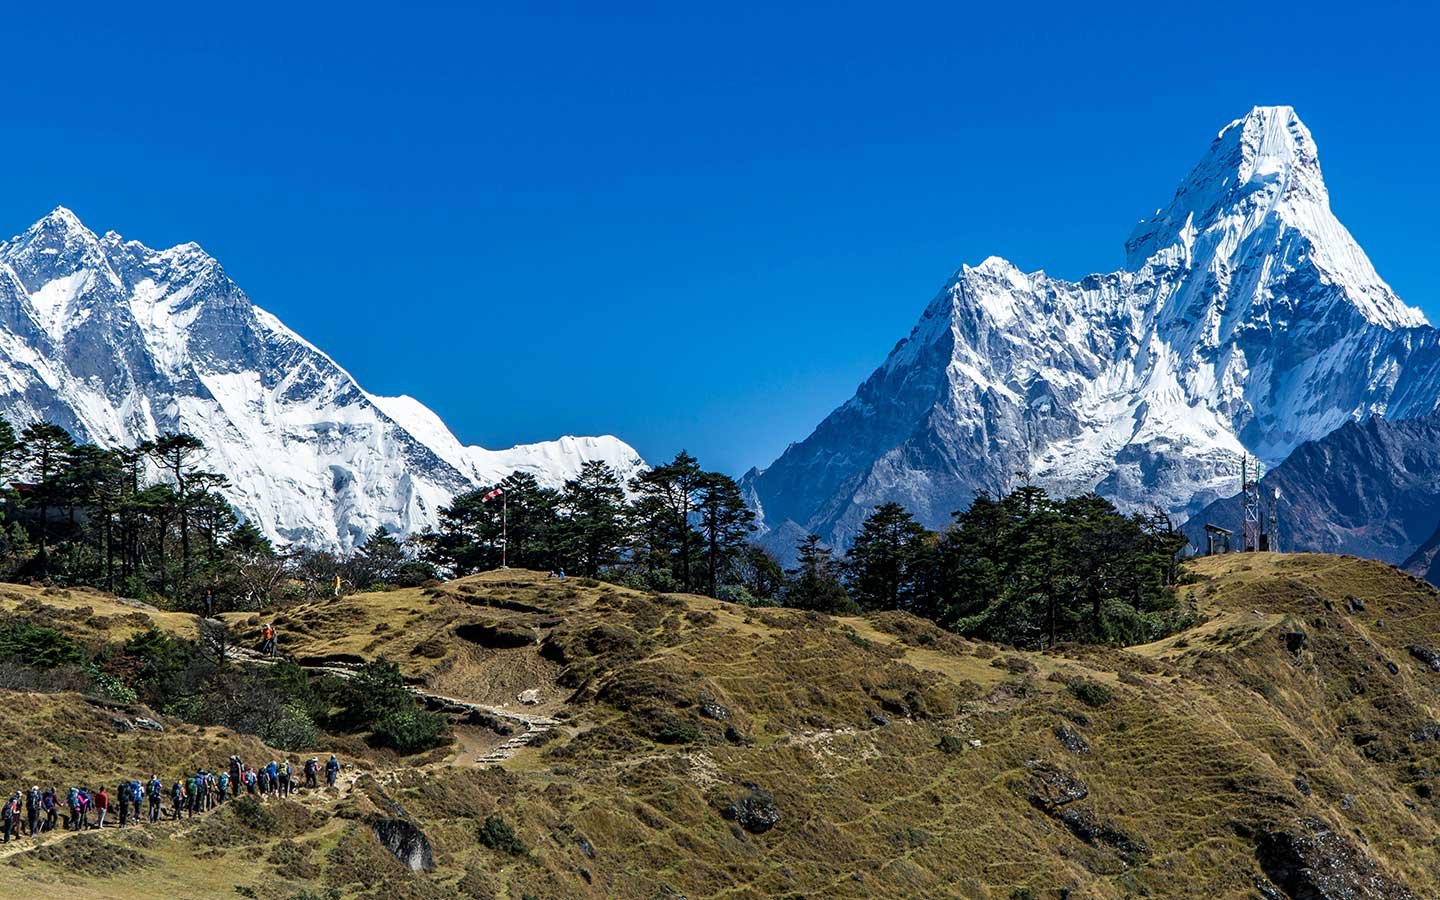
- Things to Do: Acclimatize in Namche, visit the Sherpa Museum, and explore the market.
- Where to Eat: The Bakery Café offers Western and Nepali food.
- Food Prices: Western meals around $6-$10, Dal Bhat around $5.
Day 10: Acclimatization Day at Namche Bazaar

- Accommodation: Continue your stay at Hotel Namche.
- Things to Do: Explore the nearby Everest View Hotel, offering one of the best panoramic views of Everest.
- Where to Eat: Everest Bakery Café offers great snacks and pastries.
- Food Prices: Coffee and pastries $3-$5.
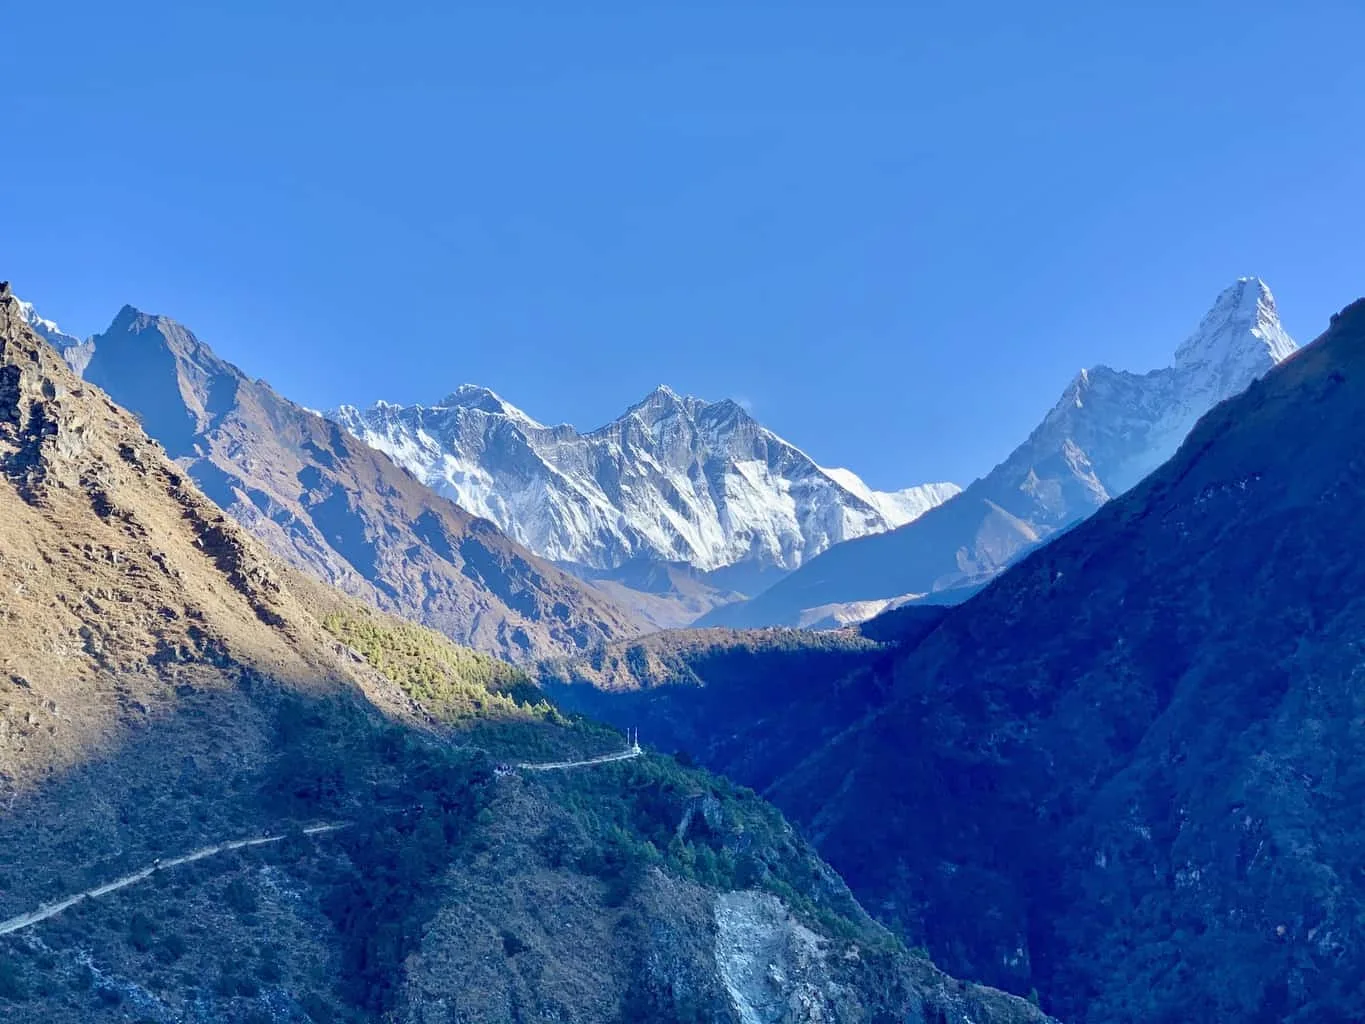
Day 11: Namche Bazaar to Tengboche (5-6 hours, 3,870 meters)
- Accommodation: Stay at Tengboche Monastery Guesthouse.
- Price Range: $15 per night.
- Things to Do: Visit Tengboche Monastery, one of the most important Buddhist sites in the region.
- Where to Eat: Enjoy tea and snacks at local teahouses.
- Food Prices: Dal Bhat $5.
Need a ride? Book airport transfers, taxis, or rental cars easily:
Kiwitaxi (Reliable private transfers worldwide)
Rentalcars.com (Compare car rentals for the best price)
Day 12: Tengboche to Dingboche (4-5 hours, 4,400 meters)
- Accommodation: Dingboche Lodge offers clean rooms with scenic views.
- Price Range: $18-$25 per night.
- Things to Do: Explore the surrounding alpine meadows and acclimatize.
- Where to Eat: Local teahouses offer noodle soups and momos.
- Food Prices: Noodles $4-$6.
Day 13: Acclimatization Day at Dingboche
- Accommodation: Continue your stay at Dingboche Lodge.
- Things to Do: Take a short hike to Nagarjun Hill for a panoramic view of the surrounding peaks.
- Where to Eat: Visit the teahouses for traditional meals.
- Food Prices: Dal Bhat $5.
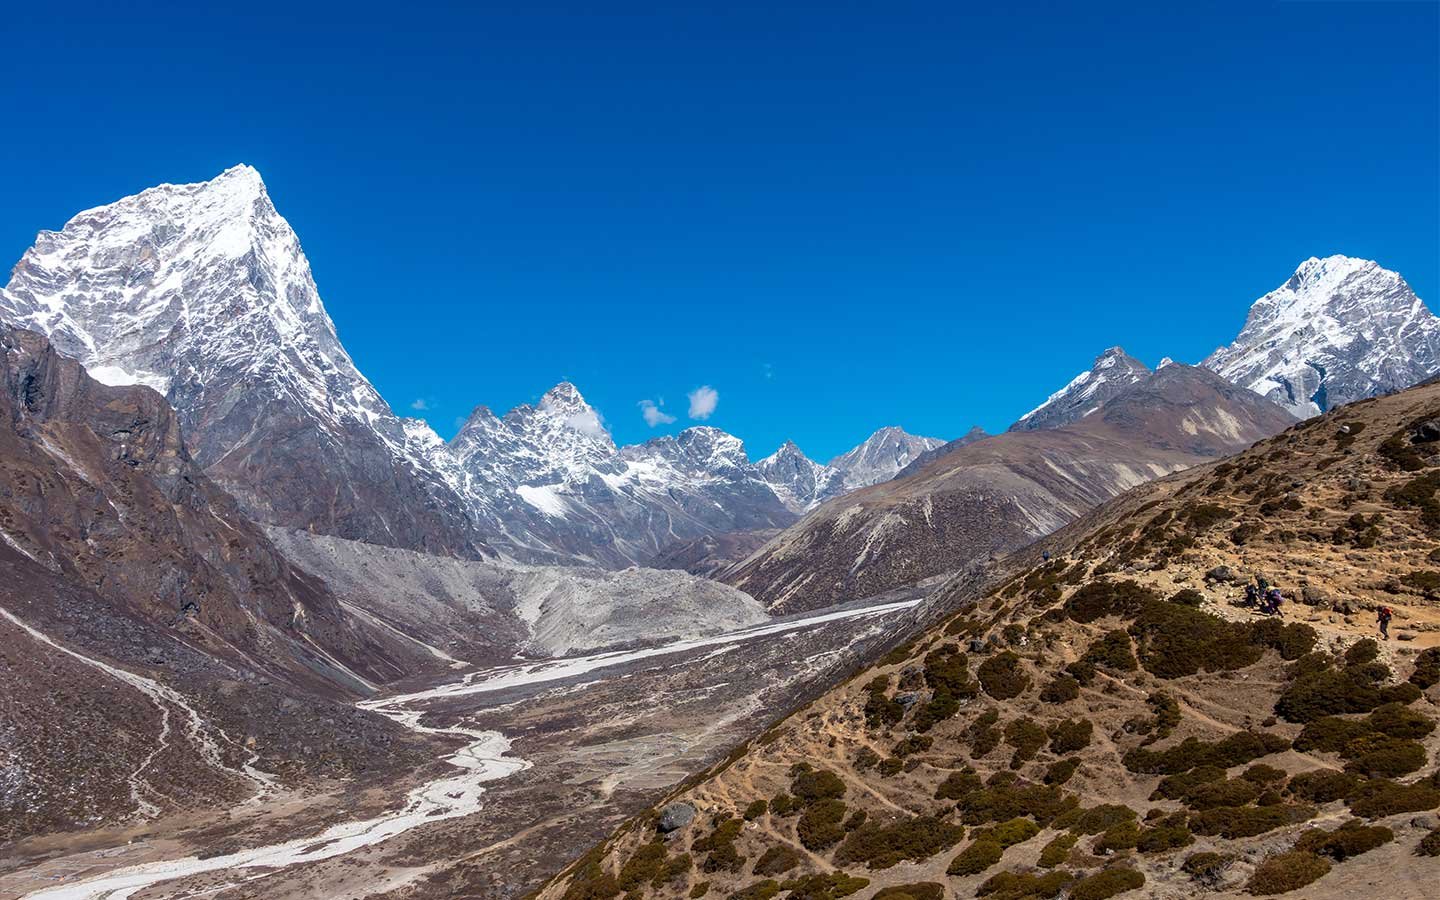
Day 14: Dingboche to Lobuche (5-6 hours, 4,930 meters)
- Accommodation: Lobuche Lodge offers rooms with basic amenities.
- Price Range: $20 per night.
- Things to Do: Enjoy the breathtaking views of the surrounding mountains.
- Where to Eat: Visit teahouses for simple meals like Dal Bhat or soup.
- Food Prices: Soup $3-$5.
Day 15: Lobuche to Gorak Shep (4 hours, 5,140 meters)
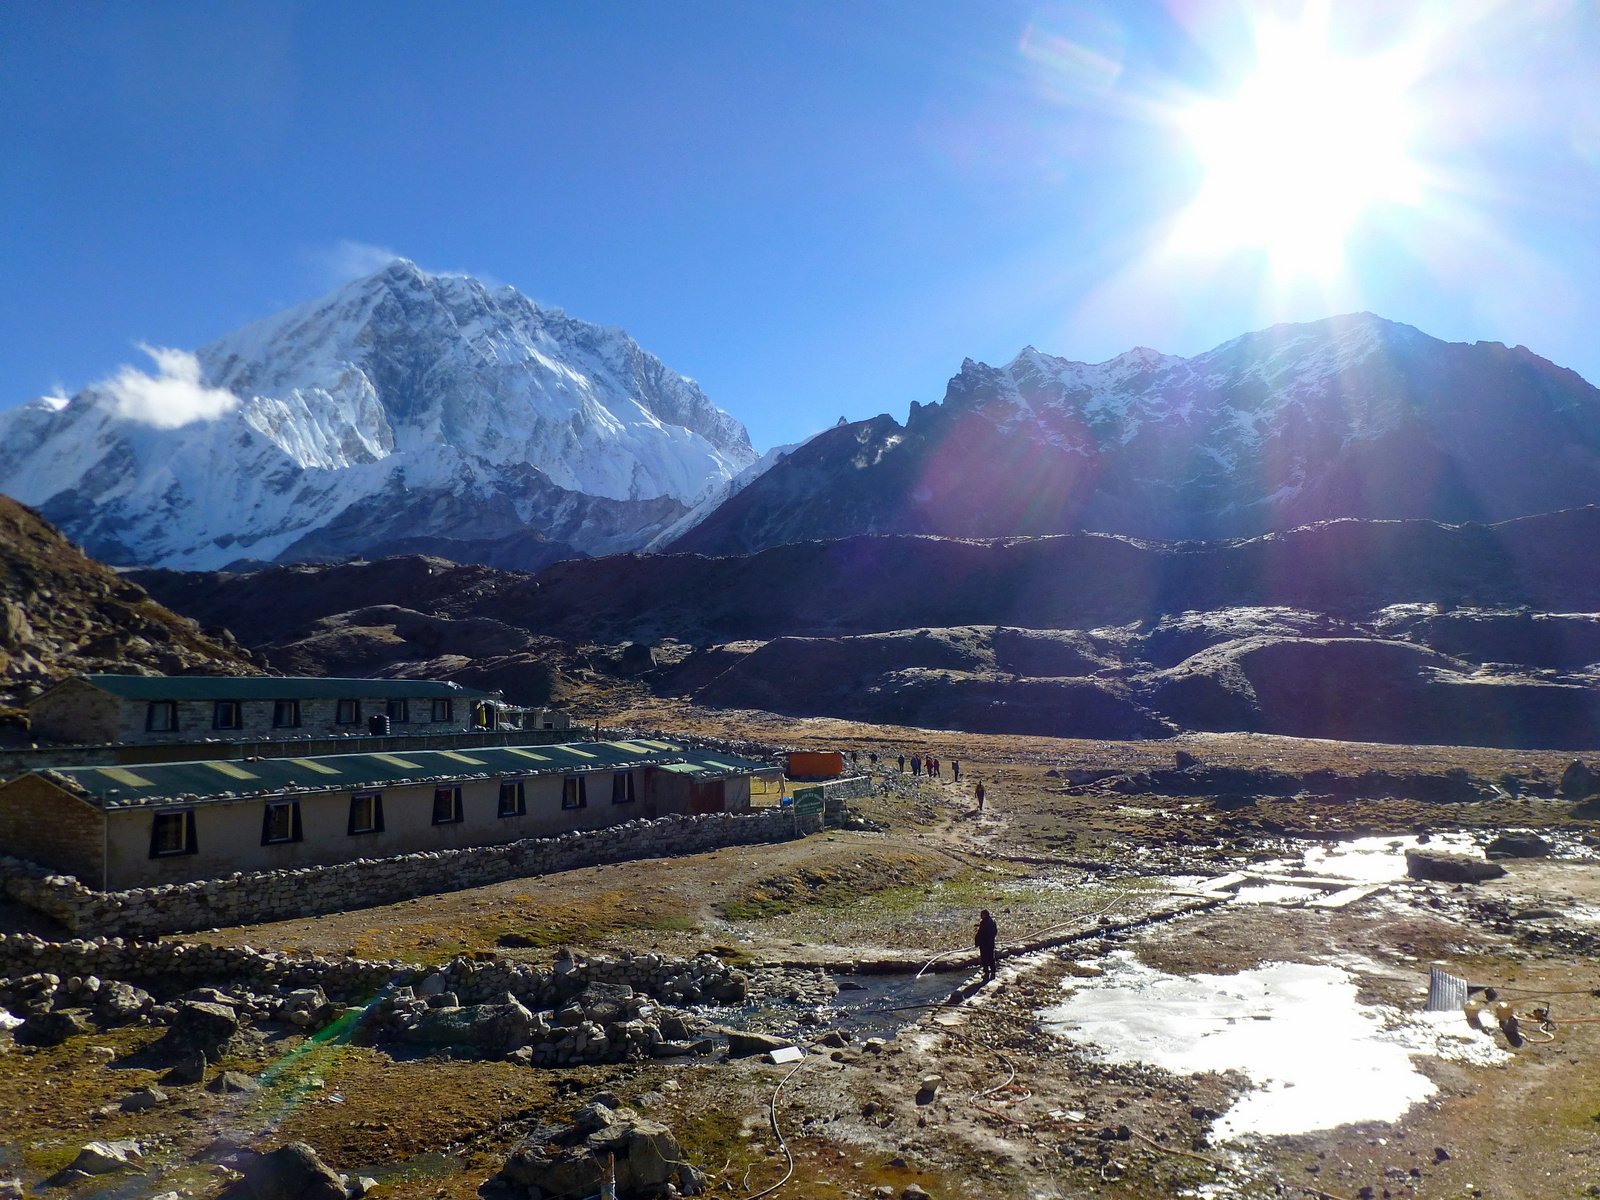
- Accommodation: Gorak Shep Lodge is a basic guesthouse.
- Price Range: $20 per night.
- Things to Do: Reach Gorak Shep and prepare for the final push to EBC.
- Where to Eat: Teahouse meals are simple but energizing.
- Food Prices: Dal Bhat $5.
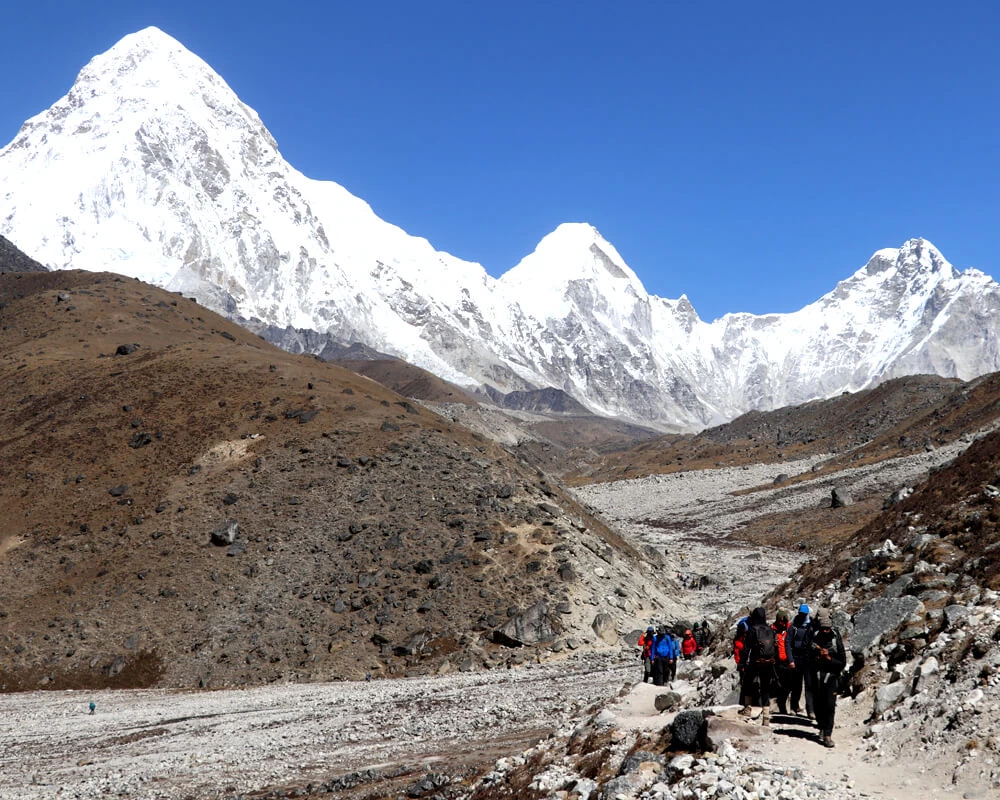
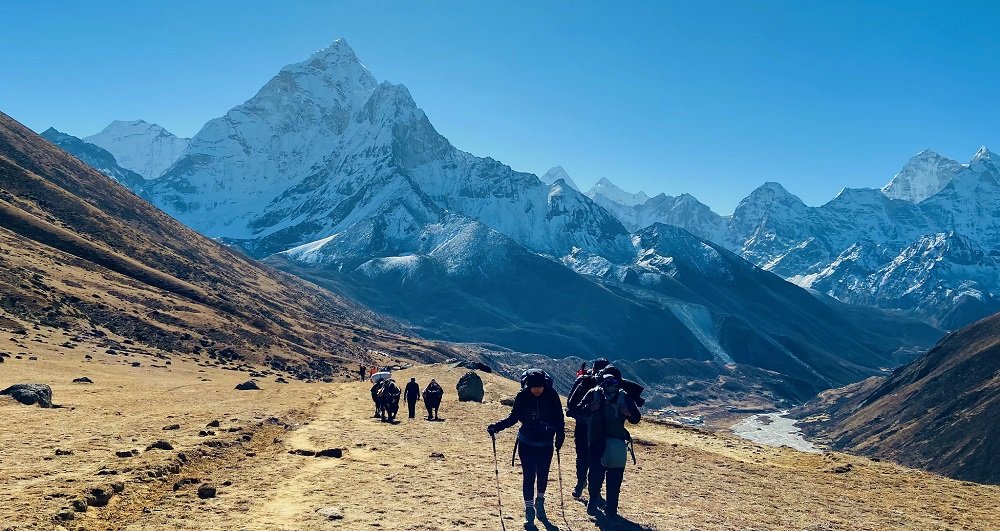
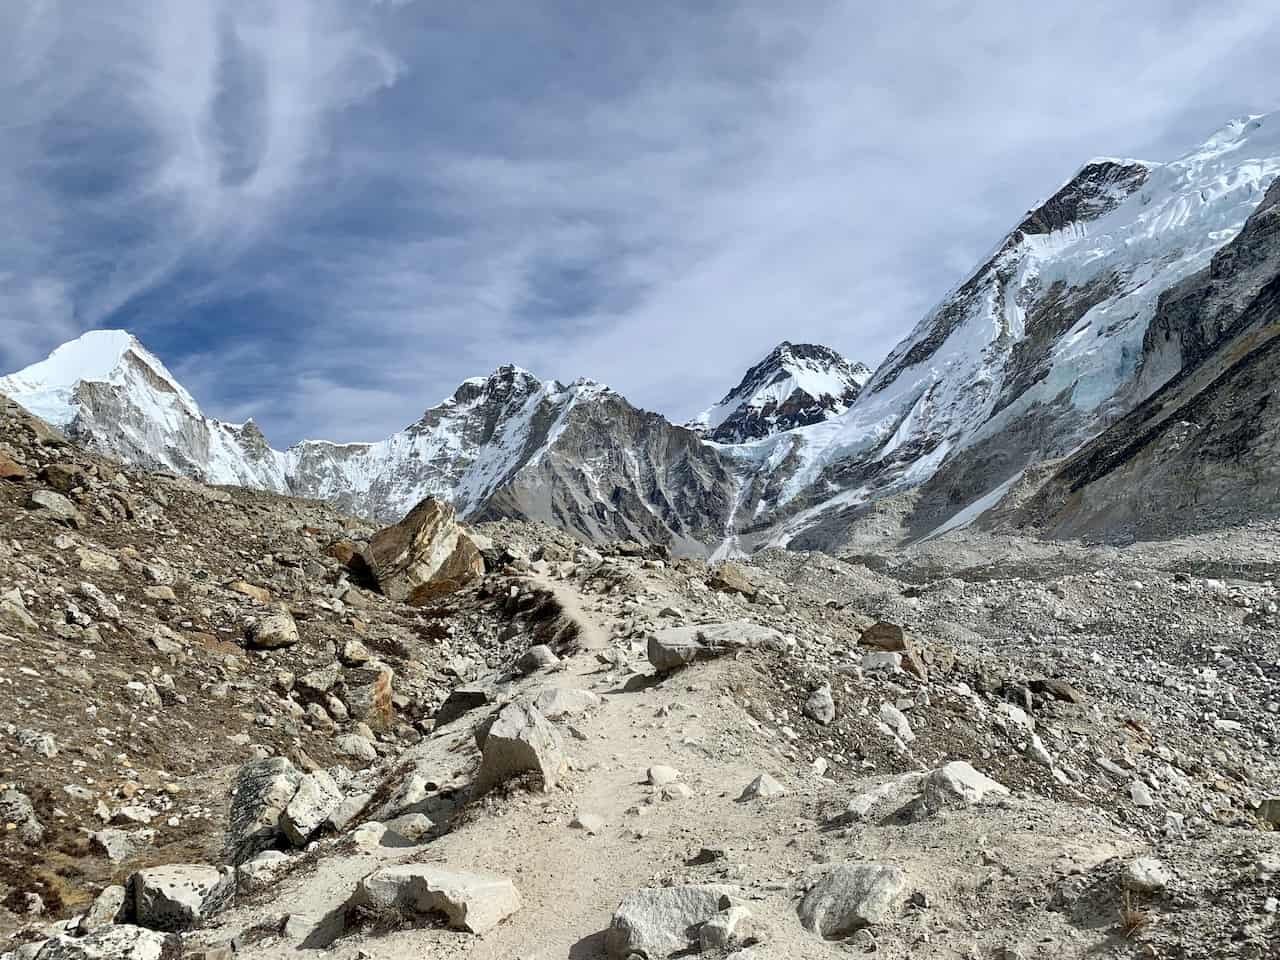
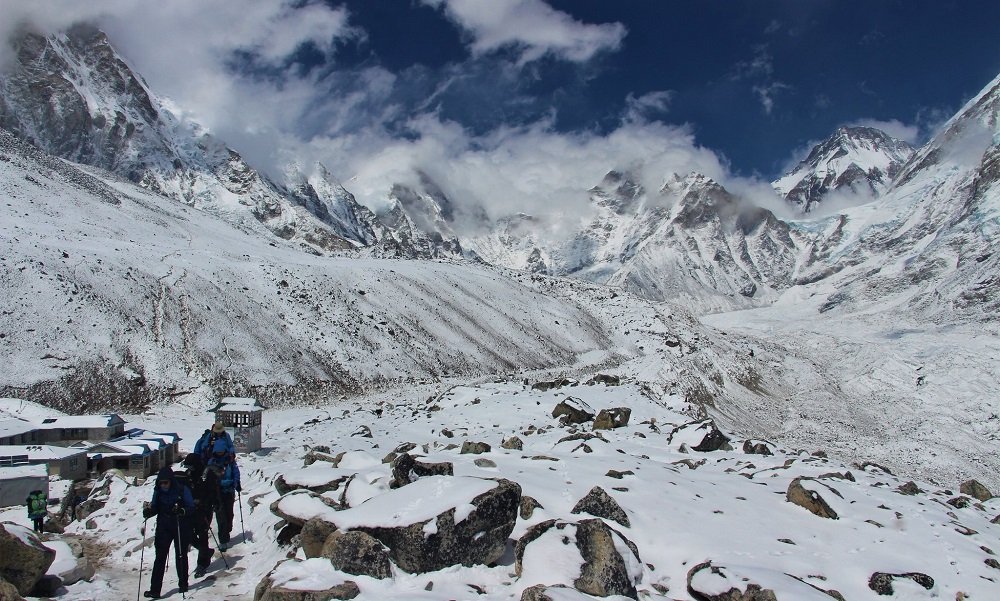
Day 16: Gorak Shep to Everest Base Camp (4-5 hours, 5,364 meters)
- Accommodation: No lodging at EBC, stay at Gorak Shep again.
- Things to Do: Reach the iconic Everest Base Camp and enjoy views of the Khumbu Icefall and surrounding peaks.
- Where to Eat: Meals at teahouses en route.
- Food Prices: $5-$7.
Day 17: Gorak Shep to Pheriche (6-7 hours, 4,240 meters)
- Accommodation: Stay at Pheriche Lodge.
- Price Range: $15-$20 per night.
- Where to Eat: Enjoy traditional Nepali food.
- Food Prices: Dal Bhat $4.
Day 18: Pheriche to Namche Bazaar (6-7 hours, 3,440 meters)
- Accommodation: Stay at Hotel Namche.
- Where to Eat: Enjoy hearty meals in Namche.
- Food Prices: $5-$8 for a meal.
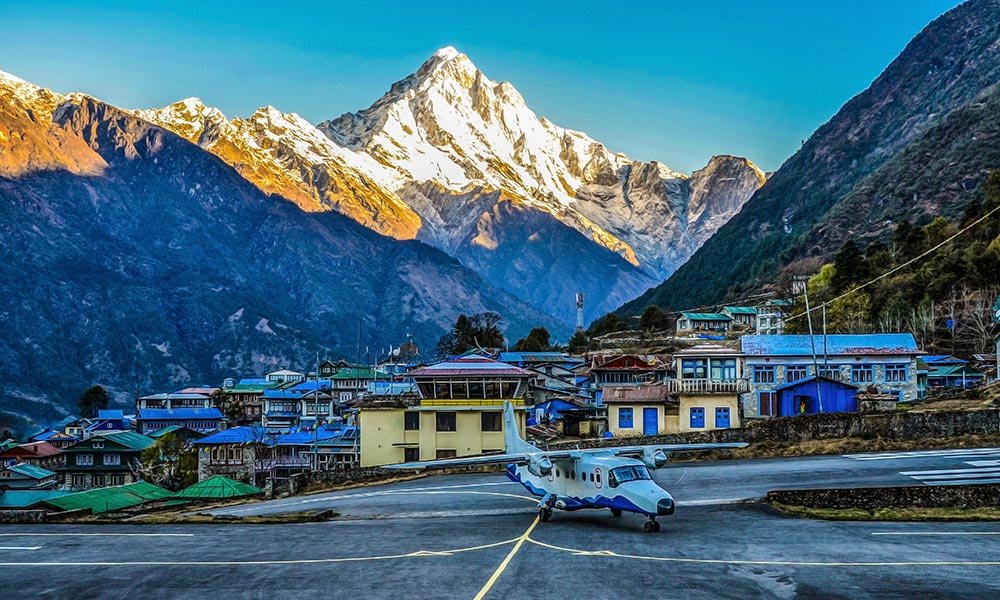
Day 19: Namche Bazaar to Lukla (6-7 hours, 2,860 meters)
- Accommodation: Lukla Lodge or Everest Lodge.
- Price Range: $20 per night.
- Where to Eat: Simple local meals at teahouses.
- Food Prices: $5.
Day 20: Flight from Lukla to Kathmandu
- Accommodation: Stay at a Kathmandu hotel of your choice.
- Things to Do: Rest and explore more of Kathmandu.
Day 21-22: Kathmandu Exploration and Departure
- Accommodation: Stay in central Thamel area hotels.
- Things to Do: Explore shopping, visit temples, or relax before heading home.
This 22-day Jiri to Everest Base Camp trek offers a perfect balance of adventure, culture, and natural beauty. Remember to acclimatize properly, respect the local culture, and enjoy every step of this iconic journey. Don't forget to check for bookings and lodge reservations in advance, especially during peak trekking seasons.
Hiking with or without a guide
When it comes to hiking in regions like the Everest Base Camp (EBC) trek, deciding whether to go with or without a guide depends on several factors such as your experience level, comfort, and the level of support you need. Both options have their pros and cons, and it's important to weigh them based on your personal preferences and the challenges of the trail.
Hiking with a Guide
Advantages:
- Local Expertise:
- Guides are typically local and knowledgeable about the terrain, weather patterns, culture, and history of the area. This can enrich your experience by offering insights into the regions you pass through and helping you interact with locals more effectively.
- Safety:
- A guide is invaluable in terms of safety, especially in remote areas like the Everest region where the weather can change suddenly, and altitude sickness is a real risk. They are trained in first aid and know how to respond in emergencies.
- Navigation:
- The trail to Everest Base Camp is well-marked, but it can still be confusing at times, especially if there are no other trekkers around. Guides help with navigation, reducing the stress of finding your way.
- Language Barrier:
- Many guides speak English, making it easier to communicate with locals and understand signs or warnings. This is particularly helpful if you're not fluent in Nepali.
- Support with Arrangements:
- Guides often take care of logistical details such as arranging accommodation, food, and transportation. This means you don’t have to worry about booking your rooms or finding places to eat along the way.
- Cultural Insight:
- A guide can give you a deeper understanding of the cultural practices in the region, such as the Buddhist rituals you might encounter in monasteries or the significance of certain landmarks.
Disadvantages:
- Cost:
- Hiring a guide adds to the cost of your trek. Guides typically charge around $20–$30 per day, with additional costs for porters, permits, and tips.
- Less Flexibility:
- With a guide, your itinerary may be more structured and less flexible. You’ll likely have to adhere to a schedule and may have fewer opportunities to explore at your own pace.
Hiking Without a Guide
Advantages:
- Cost-Effective:
- Going without a guide saves you the money you'd spend on hiring one, which can significantly reduce the overall cost of your trek. This is a more budget-friendly option, especially if you’re confident in your navigation skills.
- Flexibility:
- You have complete control over your itinerary, which means you can hike at your own pace, spend extra time in places you enjoy, or make last-minute changes to your schedule.
- Self-Discovery:
- Hiking without a guide can provide a more personal and solitary experience. You’ll rely on your own skills to navigate, find accommodations, and deal with challenges, which some trekkers find rewarding.
Disadvantages:
- Navigation Challenges:
- While the trail is generally well-marked, navigating the Everest region can still be challenging, especially in remote areas. A wrong turn could mean wasting time or getting lost.
- Safety Concerns:
- Without a guide, you’re solely responsible for your own safety. In case of illness, injury, or altitude sickness, having a guide with experience in handling such situations can be life-saving.
- Cultural Barriers:
- If you don’t speak Nepali, communication with locals may be difficult. You might miss out on certain cultural insights or struggle to find food and accommodation.
- Logistics and Arrangements:
- Without a guide, you’ll need to manage your own arrangements, such as finding lodging and food, purchasing permits, and coordinating transportation. This can be time-consuming and stressful, particularly if you’re unfamiliar with the area.
Conclusion: Which Option is Best for You?
- Choose a guide if you are new to trekking in high-altitude regions, want to ensure your safety, or prefer a more structured and informative experience.
- Choose to go solo without a guide if you are an experienced trekker who enjoys independence, is comfortable with the logistics, and doesn’t mind taking on additional responsibilities to save on costs.
Whichever option you choose, make sure you’re prepared with the proper gear, knowledge of the trek, and a clear understanding of the challenges involved in a high-altitude hike like the Jiri to Everest Base Camp journey.
Safe travels and happy trekking!
If you have any questions, leave a comment below or send me a message!
Read More Similar Articles